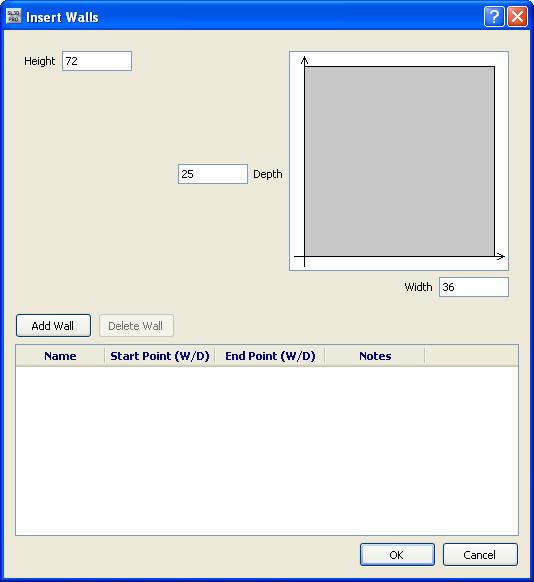
The Insert Walls dialog allows you to add vertical walls to a project. This is useful if, for example, you want to divide a project up into rooms.

To insert a wall, click Add Wall and enter a name for the wall, the starting and ending values for Width and Depth, and any information about the wall that you want to remember. A red line indicating the wall appears on the diagram.
To display the walls when you are viewing the project, right-click in any view and select Show Walls.
Related topics