Six Things to Know About Cabinet Design Software
I watch You Tube videos, read a lot of blog posts and get many emails about the use of cabinet design software for woodworking businesses or home shops. It’s important to make the right decision about which software to use. Going in the wrong direction wastes time and causes frustration.
There are six basic things to know…
1. SketchList 3D lets you “build” a 3D model of what you want to make. This model is created using the same building blocks you use in your shop – boards, hardware, assemblies, doors and drawers. Other programs – the CAD ones – are drawing programs in which you create your design with lines, rectangles, or squares. Still other software has you drag cabinets into your design – not exactly custom work at that point! You want to create a model that looks like the work you are going to create in your shop. It’s easier to think your way through the design that way.

2. You most probably already know most of what you need to know to create your model. Think of putting a sheet of 3/4 (20) wood on your saw and cutting 2 parts – say 12 X 36 (300 X 900). Put them on your workbench an line up the bottom edges. Pull one part to the left 24 inches (600). There you have the uprights of your book case. Cut 3 more parts 12 x 24 (300 X 600) and put them between and at 90 degrees the uprights. Space them 24 inches apart. You have you bookcase! This is exactly how you model the bookcase in SketchList 3D – except you can make as many adjustments as you want in minutes with no cost in materials!
3. What you need for your work is built into SketchList 3D. This software was designed for woodworking. It ‘knows’ joinery, edging, miters, moldings, drawers, doors….
- Need a bull nose? Select the edge, click contour, pick bull nose and there it is!
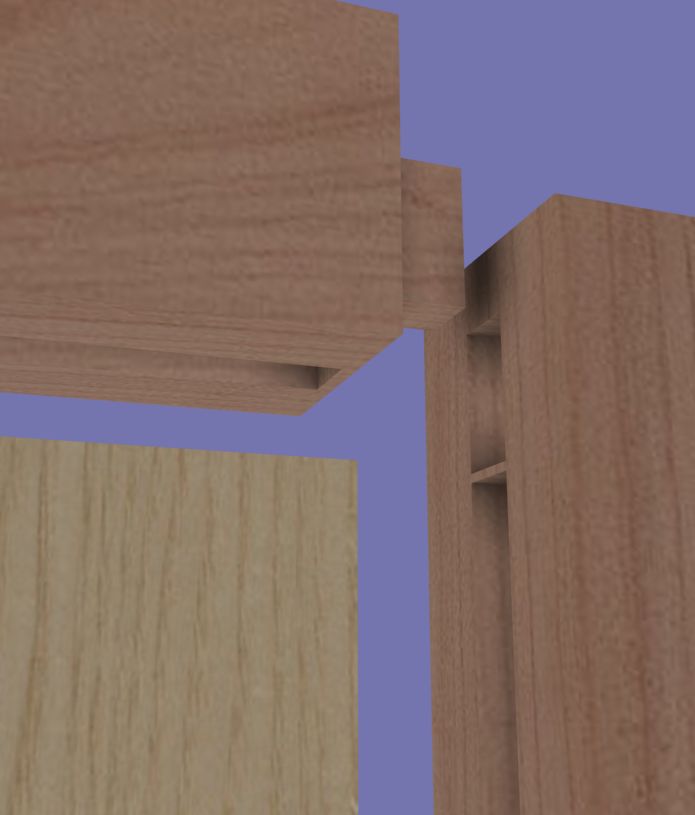
- Need a tenon? Select the edge, click joinery, pick tenon and there it is!
- Drill a hole? Pick the surface, click holes, enter location and size and there it is!
- Want to even space shelves over a distance – pick shelf, click clone and space, enter quantity and start and stop points and there they are!

4. If you’ve used a computer before – you can use SketchList 3D. The interface is graphic and changes are shown instantly. You enter information using spreadsheet or forms. You navigate with icons, buttons, and menu selections. SketchList users everyday terms like board, door, left, right, width, top and bottom…
5. You can work at the level of detail necessary to do your job. With SketchList 3D you can reuse old designs – like a cabinet or case – just by inserting it into the project. Buy door or drawers? Enter their design and size once – then insert and change the sizes to fit your need. Assemblies can be modified to fit where needed. But there are times – when you are doing truly custom work – that you need to model on a detailed board by board level to exactly grab the requirements of the job. SketchList 3D is built to help you do just that. Either way you can do it.
6. Reports and shop drawings must be built in and integrated with the design. In traditional CAD packages at the drawing is the end product.
But you need to get beyond that and have
- parts lists
- cut lists,
- purchase reports,
- shop drawings,
- and most importantly layout diagrams for optimized cut lists plus sizes.
(This actually saves you money by minimizing materials needed for the job!)
With SketchList 3D every time you make a change to your model – add, delete or re-size a board – that change is instantly reflected throughout all of your reports. This saves time and guarantees last second changes make it to your reports and drawings. Of course high quality photo like 3D images are always there for you and your client to see.


Watch the video on our web site – www.sketchlist.com. And try it out – download the free 30 day trial and see for your self.

