SketchList 3D cabinet design software provides you the ability to design a room full of cabinets or furniture for a room in a short amount of time. At the same time, all needed reports are created instantly.
Pencil and paper designs
Pencil and paper designs are really for one-time designs where time is not important. Changes are slow and difficult but pencil pushers don’t care. If you are doing a big job, or need to explore a lot of design ideas, you need SketchList kitchen design software. Learning is still required, but with much less time required than with outer software. This article and its videos explore another approach to cabinet design that will reduce the time it takes to create your design, drawings, and reports.
Up until now SketchList videos and training always began with a very detailed explanation of the nut and bolt details and moved on to concepts and techniques at a higher level. In it, we start with the outline of the cabinet and add sub-assemblies such as doors and drawers. What’s new is that we start with empty containers. The containers are sized and located, deleted, or cloned to explore alternatives, and at one point the assemblies are merged to see what that might bring to the design.
Following the process lets you learn and design what you need when you need it. No need to learn about cove moldings before you know to make a basic cabinet. And that provides the best return on your time. Not to mention it keeps you from getting painted into corners.
Containers in design do the following:
• Big purpose – organizing all the parts to be managed as one saving so much time.
• Using container edges or boundaries as guidelines. Provide reference points for placing and sizing of boards in design.
• Shows possible layouts in early design stages.
We then use the doors and drawer containers as landmarks or guides to show where the boards go and help set their sizes. Another difference in this approach to using cabinet design software is that it starts ‘building’ from the front back – with the face frame – and not left to right. You’ll see the natural flow of this approach in the videos. An additional benefit is this flow shows how the tools work without a lot of detail making for complexity.
Rinse and Repeat
And this iterative process lets you create an outline, add some detail, and if necessary take a step back and modify your initial outline without spending time on things that might need re-doing. Realize that the design process is circular – not only adjustments to the appearance aspects of the design – but adding details such as contoured edges or joinery might change the structure and layout which in turn may change the designs.
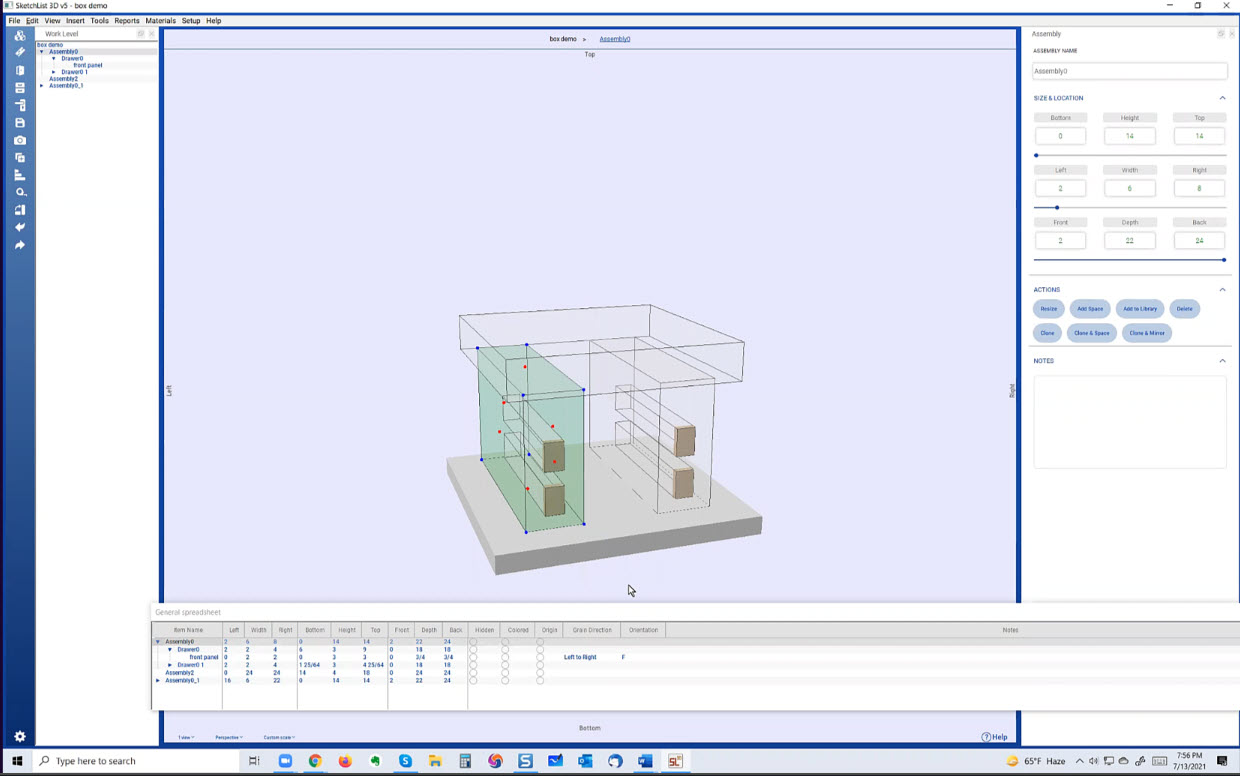
This first video shows how to start a project, insert an assembly, size, and locate it. Then we add doors and drawers.
Once you settle on the design you can finalize the details – joinery, contours, holes, and shapes – and clone those detailed boards as needed to fit the rest of the design.
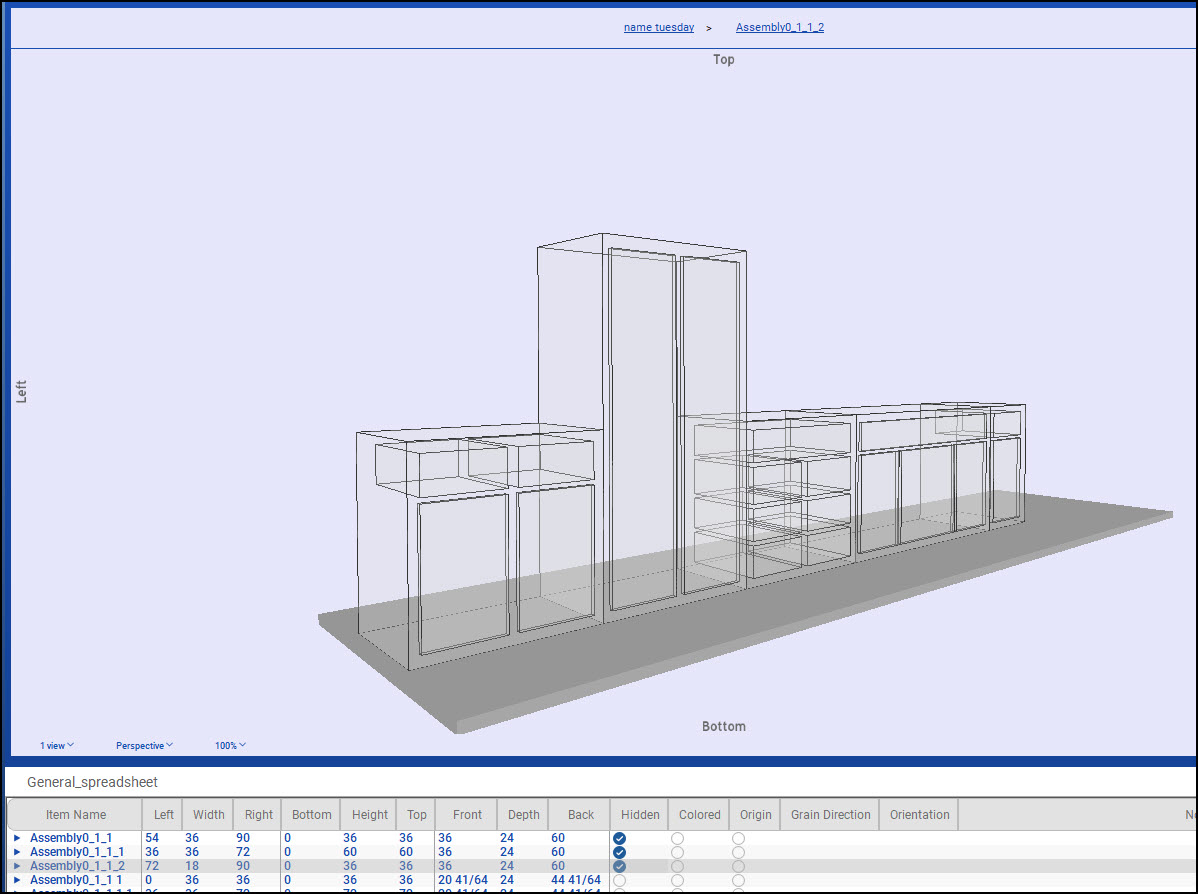
So you start with the big picture at first. Make an assembly, clone it, resize clones and make adjustments. For example, add another drawer or delete the door. At this time work at the project level. Another tip – create two or three viewing areas on your SketchList 3D cabinet design software screen. Then set on to perspective [3D], one to front and one to top. This will give you a 3D, a floor plan, and an elevation.
This next video shows what you can do with the basic model to enhance it. In it we work with doors and drawers.
To repeat – create an empty assembly. Insert empty doors and or drawers in assemblies – sized and located as needed.
Once you have a good starting point, start adding boards. In the video, I started with rails and stiles. This ensures your sideboards will have the right value of Front that fits behind the frame. Try your next project with the cabinet design software using this new approach.
Construction with boards
Most cabinets have 2 sides, a top and bottom, and back and front [if there is a front] boards. Mostly these will be cut from sheet goods. Just make sure you pick the correct size material, width, height, and thickness so the part fits on the material.
Add board details. This can include joinery, contours, shapes, and holes. At any time think about cloning strategies for boards with details. E.G. detail a sideboard with dados, rabbets, whatever – then clone and mirror it to create its counterpart in the container. When completing detailed assemblies, doors, or drawers as you need – save them to the library for future use.
Remember – you can also modify the saved objects and save them as additional works.
If you want more ideas, check out this set of images.
Give it a try with our cabinet design software. And modify the approach in ways that best fit the way you work, design, and think. Even after your first sessions – no matter the results – you started the process of moving away from pencil and paper. And even this earliest attempt at a design outshines the quality of a quick sketch on paper. For sure it is much easier to modify.
You need not be dong an entire room to use this approach.