Fireplace Design to Make Money
From Sketches to Surrounds: How Fireplace Designs Turned an Idea into a Growing BusinessI want to share a story close to my heart—our journey from a simple idea to a...

Cabinet Making Software: Addressing Your Pain
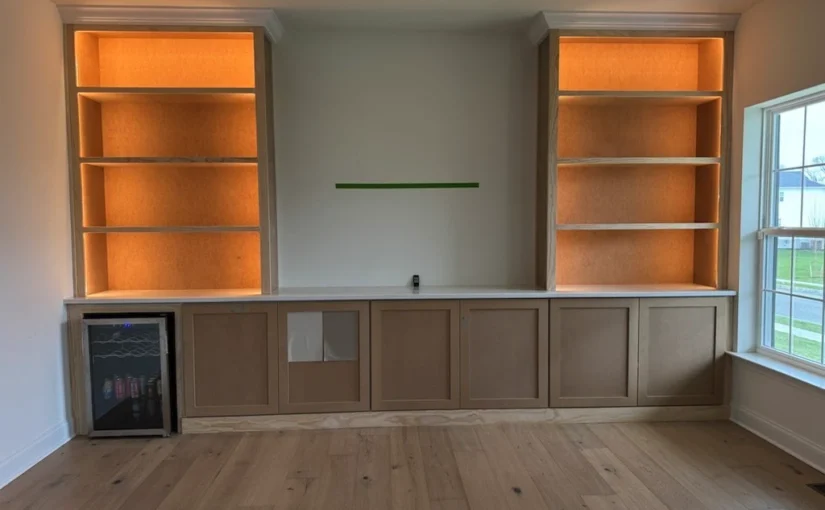
Cabinet Making Software: The Cure for a Custom Woodworker’s Headaches Running a woodworking business isn’t just about crafting beautiful pieces—it’s about juggling time, precision, and client demands while striving to...
Woodwork Planning: Three Use Cases
Unlocking the Full Potential of SketchList 3D: The Ultimate Woodwork Planner for Designing, Selling, and Building with Ease Every woodworker, designer, and craftsperson approaches their projects differently. Some begin with...
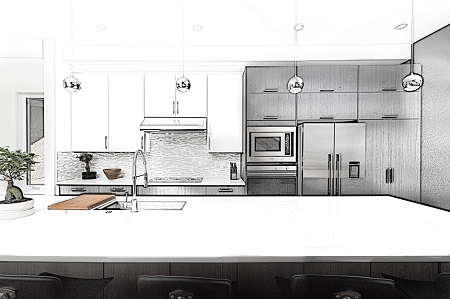
Why SketchList 3D is the Go-To Tool for CNC Cabinet Making Software
I’ve been using SketchList 3D for several years now, and even after taking a short break when my business moved away from cabinetry, I came back to it with renewed...

Woodwork planning is a logical step to success
So many people evaluating SketchList 3D as their cabinet design software choice skip this step. They have an idea – even a good idea with dimensions and such – and...
Effective woodworking techniques with modeling software
Crafting Success: How Woodworkers Harness SketchList 3D for Effective Woodworking Techniques Precision and planning are paramount in woodworking. Digital tools have revolutionized how artisans conceptualize and execute their projects. Among...
App for woodworking design: Steps of process explained
App for woodworking design: Custom Woodworkers Need It In today’s competitive woodworking industry, precision, efficiency, and speed are key to standing out. Whether you run a professional woodworking shop or...

Parametric Design vs CAD – Woodworkers Beware the Difference
Parametric Design vs CAD: In the world of design, particularly in fields such as woodworking, architecture, and manufacturing, the tools and techniques you choose can significantly affect the outcome of...

Woodworking CAD Software – Reports are #1
Woodworking CAD Software Reports: Shaping Precision in Craftsmanship The world of woodworking has embraced technology with open arms. Computer-aided design (CAD) stands out in this tech-savvy workshop. It transforms...