Unleashing Your Woodworking Creativity: A Closer Look at SketchList V5 Pro and Hobby
Woodwork design. As a woodworking enthusiast, I know firsthand how important it is to have a well-thought-out woodwork design before starting any project. It not only saves time but also ensures that the final product is exactly what you envisioned. That’s where woodworking design app comes in, and SketchList V5 Pro and Hobby are two of the best options.
Introduction to Woodwork Design
Woodworking design is creating a plan or blueprint for a woodworking project. This includes determining the dimensions, shape, and materials needed to create the final product. A good design is essential for both functional and aesthetic reasons. It ensures that the project will be structurally sound and the finished product will be visually appealing.
Creating a woodworking design used to be a time-consuming and tedious process. It involved drawing everything by hand, measuring and re-measuring, and making countless calculations. But with the advent of woodworking design software, the process has become much easier and more efficient.
The Importance of Having Woodworking Design Software
Woodworking design software takes the guesswork out of the design process. It allows you to create accurate and detailed plans quickly and easily. It also provides a range of features not available when designing by hand, such as 3D modeling, material optimization, and cost estimation.
A woodworking design software is particularly useful if you are a professional woodworker or frequently take on complex projects. It can save you time, reduce errors, and help you create more intricate and unique designs.
SketchList V5 Pro and Hobby Features and Benefits
SketchList V5 Pro is a professional woodworking design software specifically designed for woodworkers, cabinet makers, and furniture designers. It has a range of features that make it one of the most comprehensive woodworking design software options available.
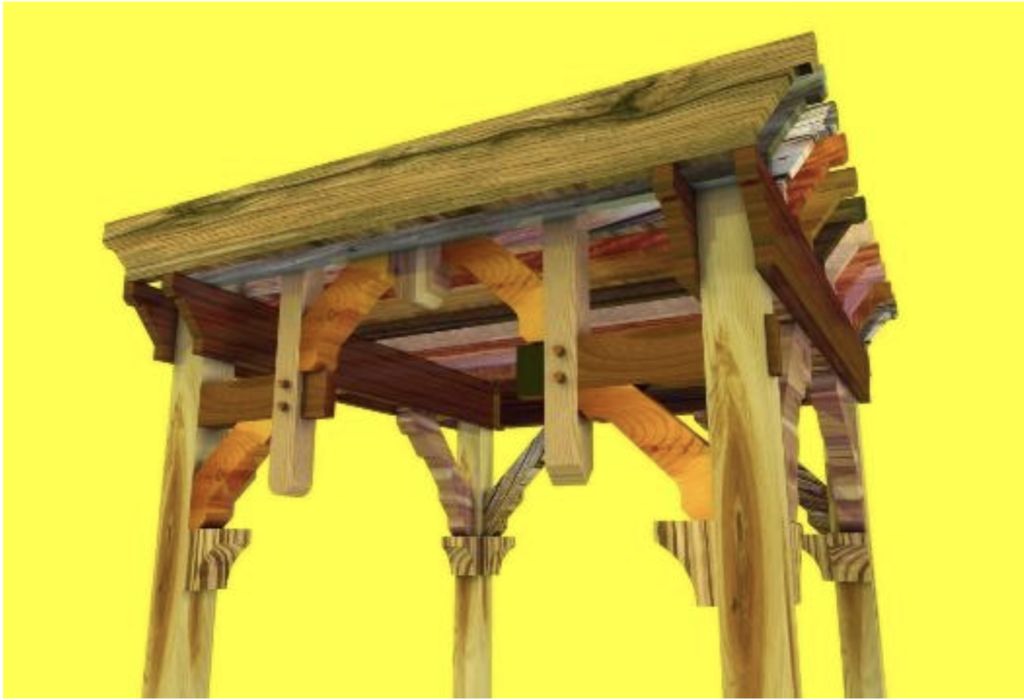
One of the critical features of SketchList V5 Pro is its 3D modeling capabilities. It allows you to create detailed 3D models of your designs, which gives you a better sense of how the finished product will look. It also has a range of tools for adding details such as joinery, hardware, and finishes.
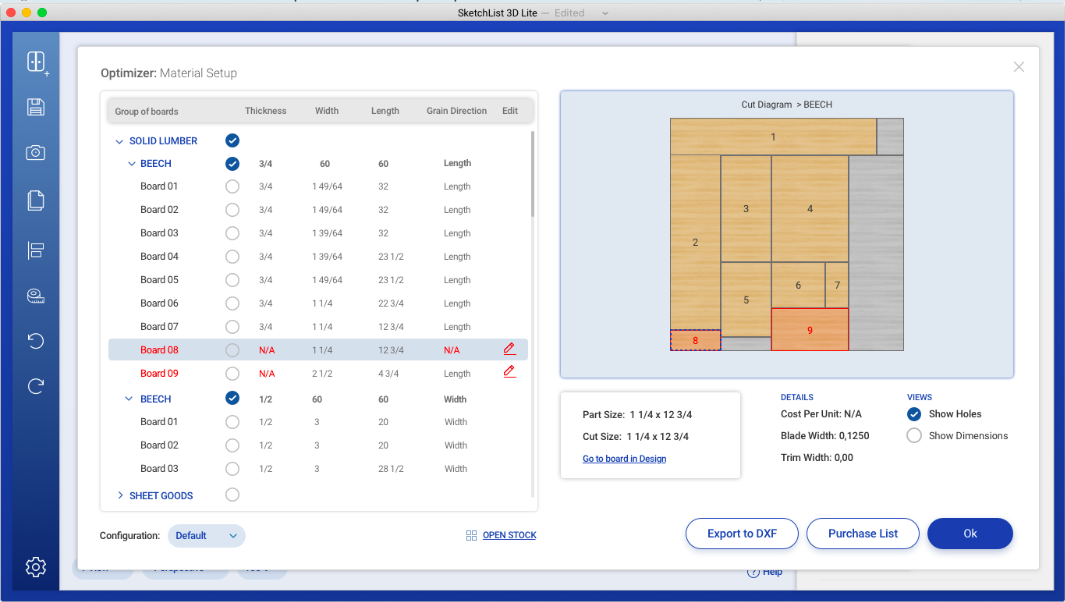
SketchList V5 Pro also has a range of optimization tools that can help you reduce waste and save money on materials. It can automatically calculate the wood you need for a project and even generate a cut list. This can save you a lot of time and effort when ordering and cutting materials.
SketchList Hobby is the smaller, more affordable version of the SketchList V5 Pro. It is designed for hobbyists and DIY enthusiasts who want to try their hand at woodworking design. Despite its lower price point, it still has many features that make it an excellent option for beginners.
One of the critical benefits of SketchList Hobby is its lower cost. While the features are more limited than in the Pro version, you can still accomplish a wide range of designs.
They both offer a range of videos and guides to help you start with woodworking design.
How to Use SketchList V5 Pro and Hobby
Using SketchList V5 Pro and Hobby is relatively straightforward. Once you have installed the woodworking design app, you can start creating designs immediately. The first step is to create a new project and choose the dimensions and materials you want to use.
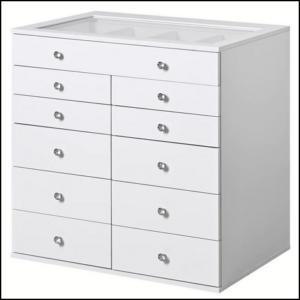
From there, you can start adding elements to your design, such as cabinets, drawers, and shelves. You can also add details such as joinery, hardware, and finishes. Once you are happy with your design, you can export it as a 3D model or a 2D drawing.
Comparison Between SketchList V5 Pro and Hobby
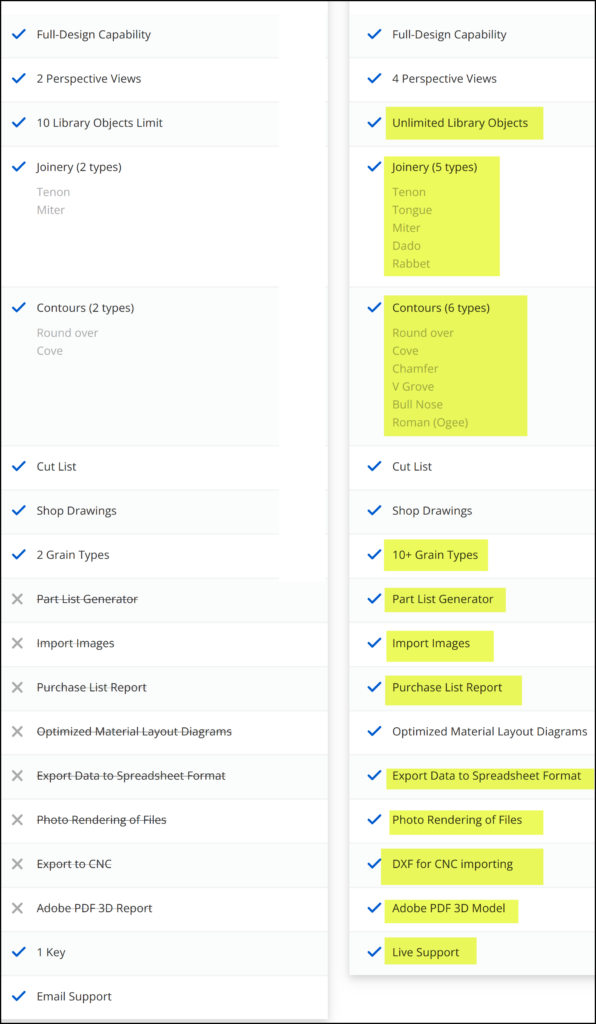
The main difference between SketchList V5 Pro and Hobby is their target audience. SketchList V5 Pro is designed for professionals who need a comprehensive woodworking design software. In contrast, SketchList Hobby is designed for hobbyists and DIY enthusiasts who want to try their hand at woodworking design.
Regarding features, SketchList V5 Pro has a range of advanced tools that are not available in SketchList Hobby. For example, it has a range of optimization tools that can help you reduce waste and save money on materials. It also has a more comprehensive library of materials and hardware.
However, SketchList Hobby still has many features that make it an excellent option for beginners. It has a simple and intuitive interface that makes it easy to create designs quickly, and it still has a range of tools for adding details and customizing your designs.
User Reviews and Experiences with SketchList V5 Pro and Hobby
User reviews of SketchList V5 Pro and Hobby are generally positive. Many users praise the software for its ease of use, comprehensive features, and accuracy. They also appreciate the customer support provided by the SketchList team.
Some users have noted that SketchList V5 Pro can be overwhelming for beginners and that it has a steep learning curve. However, they also note that the software becomes much easier to use with practice.
Overall, users are very satisfied with both SketchList V5 Pro and Hobby. They appreciate the range of features and the software’s accuracy, and they find it a great tool for creating woodworking designs.
Tips and Tricks for Using SketchList V5 Pro and Hobby
Here are a few tips and tricks for using SketchList V5 Pro and Hobby:
- Take advantage of the tutorials and guides provided by SketchList. They can be an excellent resource for learning how to use the software.
- Use optimization tools to reduce waste and save money on materials. This can be especially useful if you are working on a large project.
- Experiment with different materials and finishes to see how they will look in your design. SketchList has a range of materials and finishes, so take advantage of them.
- Use the 3D modeling tools to better understand how your design will look in real life. This can help you identify any issues before you start building.
Other Woodworking Design Software Options in the Market
While SketchList V5 Pro and Hobby are great options for woodworking design app, other options are available in the market. Some popular alternatives include:
- SketchUp: This 3D CAD software is used in the woodworking industry. See this article for more information.
- Fusion 360: This comprehensive design software generally used in the manufacturing industry. It has a range of tools for creating 3D models and features for simulation and analysis.
- SolidWorks: This popular 3D modeling software mostly used in engineering. It has a range of tools for creating complex designs and used for design and production.
Conclusion and Final Thoughts on SketchList V5 Pro and Hobby as Woodworking Design Software
SketchList V5 Pro and Hobby are both excellent options for woodworking design software. They have a range of features that make them comprehensive and easy to use, and they are suitable for both professionals and hobbyists.
While SketchList V5 Pro is the more comprehensive and advanced option, SketchList Hobby is an excellent choice for beginners who want to try their hand at woodworking design. Both software options provide accurate and detailed designs, essential for creating high-quality woodworking projects.
If you are a woodworking enthusiast, consider SketchList V5 Pro or Hobby as your woodworking design app. They are powerful tools that can help unleash your creativity and bring your woodworking projects to life.
For more information about woodwork design approaches see this article.
Inspiration available here.