Door Design Overview
Door Design is a Critical Function In this article, we will explore the art of designing doors and how they can transform your living space. Whether you are searching for...
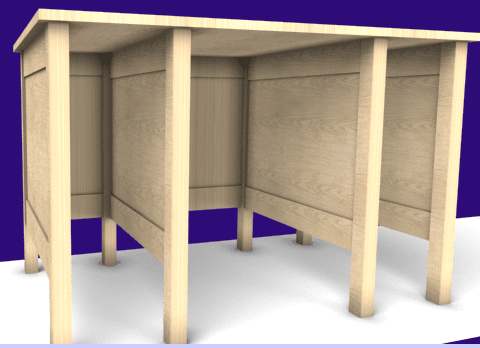
Maximize the Use of a Desk Design Software
What is Custom Desk Design Software, and Why Should I Consider One? In the realm of furniture design, a custom desk design software emerges as an invaluable tool. It allows...
Maximize your Custom Cabinets with Cabinet Building Software
Maximize your Custom Cabinets with Cabinet Building Software Upgrade your woodworking game with 3D software for customized cabinet and furniture design. Produce photo-like images, accurate cut lists, optimized layouts, and...
Software for Cabinet Design? Key Considerations
Software for cabinet design can tap you in. Were you aware that the custom cabinet market size is projected to reach multi-million by 2030? To take advantage in custom woodworking...
Unique Outdoor Furniture
Unique Outdoor Furniture: Tips As the weather warms up, it is time to start thinking about outdoor living spaces. Having a comfortable and functional outdoor space can be a...
Don’t Get Lost in the Search for Furniture Design Software
Are you in the market for furniture design software but feel overwhelmed by the sheer number of options available? Choosing the right software can make all the difference in your...
How to Visualize Dado Distances Like a Pro with SketchList3D
Cabinet design software makes it easy to create custom woodworking designs for your projects. However, sometimes it can be challenging to visualize the distances between dadoes on your project. Fortunately,...

Woodshop plans are necessary
Woodshop Plans – Unlock the Potential for Amazing Woodworking Projects! Woodshop plans help define the possibilities are endless when it comes to woodworking. From small projects like toy boxes...
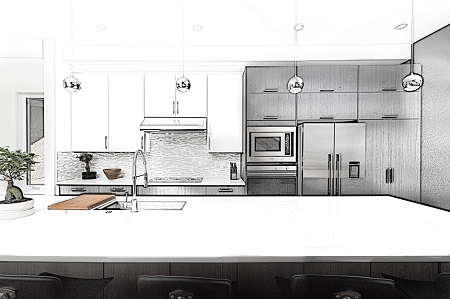
Kitchen cabinet ideas lead to good design.
Unlock Kitchen Cabinet Ideas: A Guide to Designing Kitchen cabinet ideas can set the cornerstone of any home. They bring a sense of order and organization to the...