Menu
Index

Assembly

Assembly
1

Hide / Show

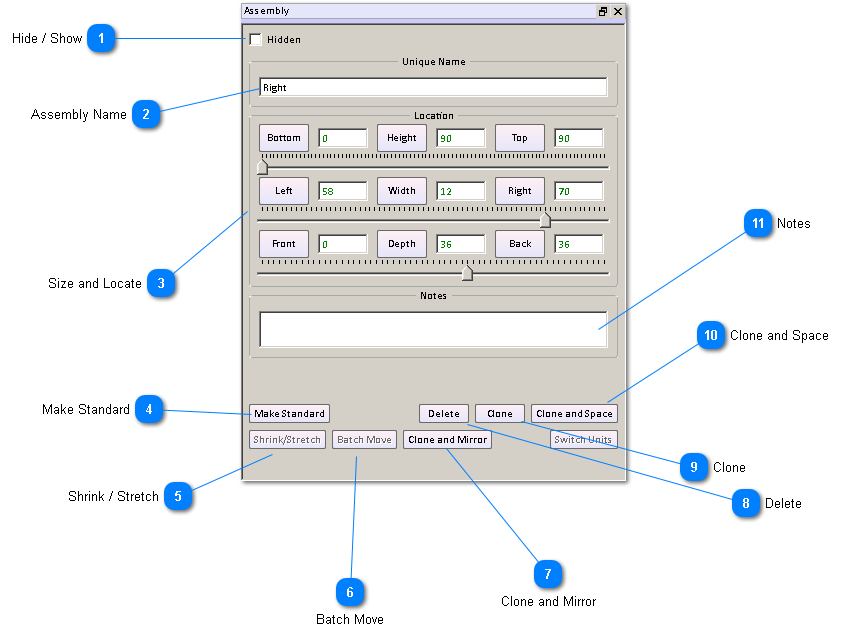
This checkbox shows and/or determines if the selected assembly is visible in the image display area.
2

Assembly Name

Enter or change the name of the assembly in this text box.
3

Size and Locate

These nine values, when entered or changed by the slider bars,  (1) orient the assembly within the project and (2) size the assembly in terms of height, width, and depth.
4

Make Standard

Make this assembly into one that can be used in other projects.
5

Shrink / Stretch

The ability to change the overall size of the assembly and adjust assembly contents according to the specifications you set up.
6

Batch Move

Move all objects in an assembly to the right, back, or top by a given distance.
7

Clone and Mirror

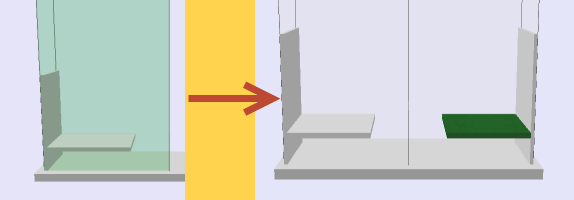
Clone and mirror of an assembly makes a clone and flips it left to right.  Remember the resulting cloned copy will have a left = 0 so the original and its clone will be in the same space.  Moving the assembly will make it visible.  You may have to increase project size to fit new cloned and mirrored assembly.


8

Delete

 
Deletes selected assembly.
9

Clone

Clone makes an exact copy of an assembly, both size and location.
 
The cloned assembly is in the same space as the original so it appears as if nothing was added to the project. 
 
You will notice that in the spreadsheets, the row of a cloned object has a yellow background until any aspect of that object is changed.
 
You must change one or more of the location values to move the new assembly to see it.
10

Clone and Space

Clone and space makes any number of copies of the original assembly and spaces them as you specify.
 
The options are to:
 
  1. let SketchList 3D determine the spacing between two points or
  2. to set a fixed distance between assemblies.
 
In both cases you must specify the number of new assemblies you want to create.
11

Notes

Enter notes for informational purposes.  Notes can be placed on the various reports that contain assembly
information.
comments powered by Disqus